 If you plan to create and maintain large-scale projects using WordPress, you may be challenged with performance and security problems. How do you maintain a large project in WP? Everything depends on the programmer’s skills. To avoid problems with scaling and support, you should be able to write and maintain a well-documented code. An IDE accommodating a WP code might be good choice.
Installing WP using Codelobster
An interesting and useful feature of Codelobster IDE is the ability to automatically deploy the project and start working with WordPress in just a few minutes. We do not need to look for the official website on the Internet and download the latest stable version of CMS. All care about creating and configuring the site incurs the IDE.
Prerequisites
Apart from IDE itself (get it here) you’ll need to get and install a IDE’s WP-plugin. The plugin trial is free for 30 days – get it here. Also, we will need the HTTP Apache server and the MySQL database server. In this article demonstration, we’ll use XAMPP.
Process
Start up Codelobster IDE and go to the main menu. Then select the menu item File -> New -> Project.
Now we need to fill in the fields in the dialog box. Select the type of a project to create – “Create a blank WordPress site“.
Immediately, we come up with a project name and enter it in the “Project name” field. Choose the path to the project, place it in a directory on the local server for shared files.
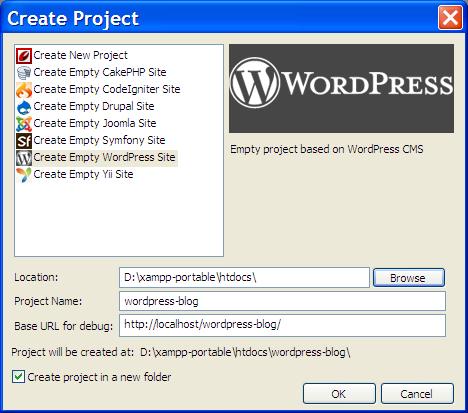
Let’s name both project and the base url as wordpress-blog. As a result, Codelobster creates a folder named “wordpress-blog” in the directory “htdocs” of the Apache server. We will be able to manage a new site with the base URL – “http://localhost/wordpress-blog/”.
Click “OK” to go on.
The next dialog box – the basic configuration of access to the database server. We must enter the name of the database, as well as the correct username and password for MySQL. This allows the IDE to create and fill in the site database for installation in the CMS.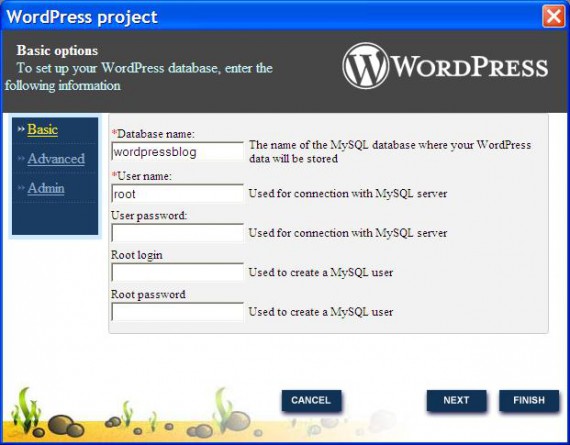
Click “Next” button.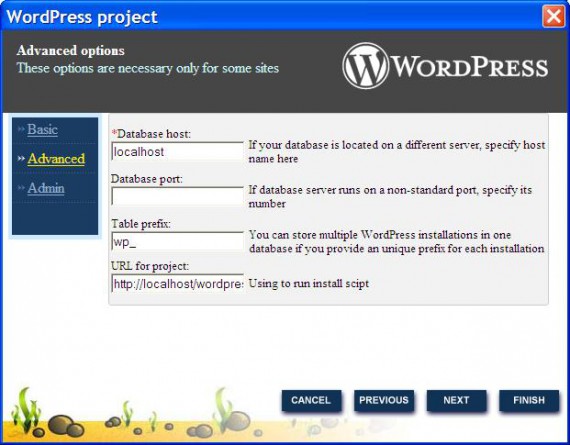
At this stage you can enter the address of the remote MySQL server, but our server is running on the local computer, so you can not change anything and go to the next dialog window.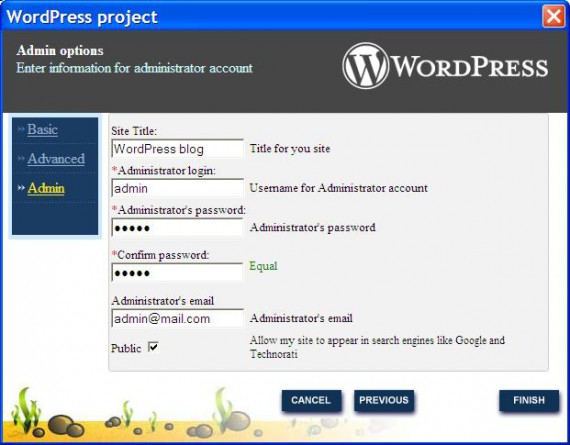
Now we have to configure our blog. We introduce the name of the site, login and admin password, as well as e-mail. These data will be used to log in to the admin-panel of the blog and management.
If the installation is carried out on remote hosting rather than on the local server, be sure to note the checkbox Public (if you want to make enabled an indexing of site by search engine robots).
Click the Finish button and wait until Codelobster installs WordPress.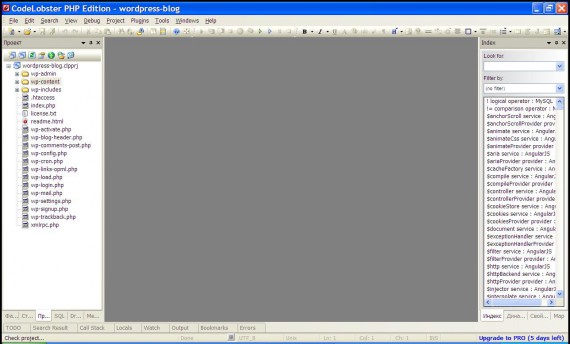
The site is installed, and the project is opened in the IDE. You can select files to edit in the left panel of the program.
Let’s check how our site works – enter the URL http://localhost/wordpress-blog/ in your browser.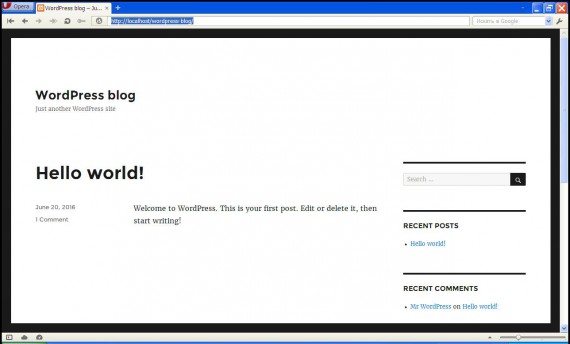
As we can see, the site works well. Site admin panel is accessible at http://localhost/wordpress-blog/wp-login.php
Edit with IDE
For some edits of our site, we return to the IDE, . Open the header.php file to add a new logo instead of the default site header.
The instant hints will help us to deal with the purpose of the set of function. In this instance, you just need to put the cursor on the item of interest. Look for the code string “<?php bloginfo ( ‘name’); ?>” and delete it.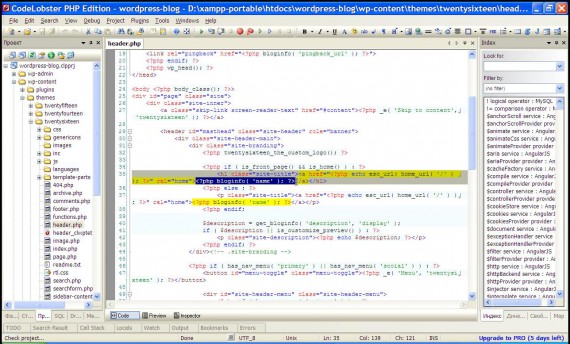
Instead of deleted snippet of code, paste the HTML tag ‘<img src = “/wordpress-blog/wp-content/themes/twentysixteen/images/codelobster-logo.jpg” />’. The value of the attribute “src” contains the path to a new logo (load it into site theme beforehand).
Let’s see what we have done. Refresh the newly created site page. The logo has been added!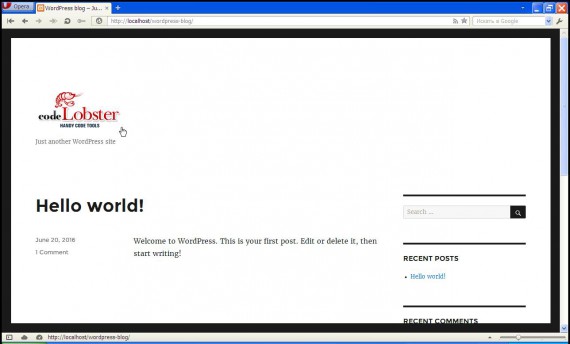
Codelobster PHP IDE provides all the necessary tools: programming in PHP and editing HTML markup, CSS styles, and JavaScript. Codelobster IDE is smart tool to quickly and efficiently add and edit CMS functionality to fit large scale project needs. Codelobster IDE supports plenty of popular CMSs. See all of them here.
3 replies on “Create and Manage WP Blog With CodeLobster IDE”
Hello Igor,
I Just want to ask: don’t you have any experience with sites that uses .ASPXAUTH cookie authentication?
It worked, but they something changed, because it doesn’t work now.
#get authenticated and get the cookie
curl -L -X POST -b /tmp/c -c /tmp/c -d “login=name&heslo=password” http://xy/Uzivatel/Prihlaseni -H “Content-Length: 0”
#download the data we want
curl -L -b /tmp/c -c /tmp/c http://xy/Katalog/ -o katalog.csv -H “Content-Length: 0”
I checked in FireBug and I realized that .ASPXAUTH cookie from CURL is not created.
Do you have any idea?
Wow, I just found that it works still well with wget:
wget –save-cookies /tmp/c –keep-session-cookies
…etc. Maybe curl is banned on the server? But in this case how they know that I am connecting with curl? I already set user agent to Chrome in curl.
Adrian, I do not have much experience with “.ASPXAUTH cookie authentication”.
Maybe curl is banned on the server?
Curl is a server-side way to make http request. The target site gets HTTP request along with headers (incl. User-agent, IP, cookies, etc.). Wget functionality has to handle all these (at least it handles cookie). So you search how to imitate proper user-agent and might be you’d need to work out some proxies since it’s recurring IP that in most cases makes target server to ban suspicious activity.