If you want to start programming in Python but don’t know where to start, you may find this step by step tutorial useful. It leads you through installing Eclipse for Windows and then adding Python Development Environment into it.
1. Installing Python Interpreter
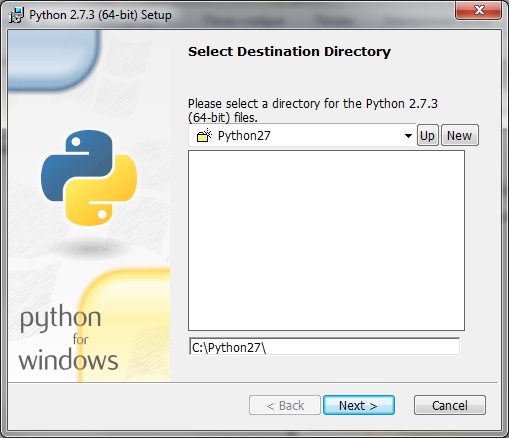
First, you need to download and install a python interpreter. You may find it at http://python.org/download/ or just click one of the following links, depending on your platform (Win32 or Win64) and the version of Python you need: After downloading, run the MSI package and install the Python interpreter. Here is how it looks for Python2.7 for Win64:
2. Installing Java Runtime Environment
If you don’t have Java Runtime Environment (JRE) or Java SDK installed on your computer you can to get it at http://www.oracle.com/technetwork/java/javase/downloads/jre7-downloads-1637588.html and install it: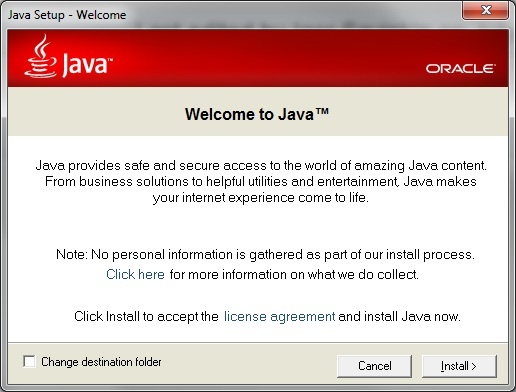
3. Installing Eclipse
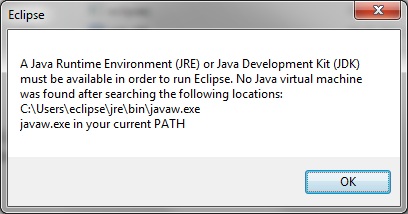
Download Eclipse SDK classic or any other Eclipse SDK. This doesn’t need much as far as installing – just unpack the archive somewhere. As soon as you’re done, run eclipse.exe. If you get the following message you need to go back to step 2 and install JRE.
4. Setup Eclipse workspace
If you’ve successfully launched Eclipse, it will ask you to choose a directory for your workspace (it will put all your working files there):
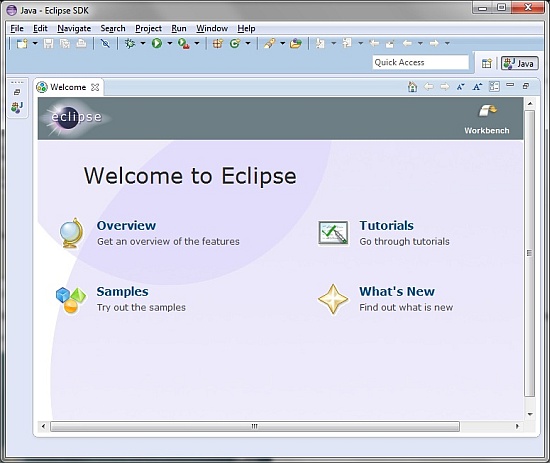
Eclipse will automatically use this workspace next time you open it. If you want to change the workspace later you can go to File → Switch Workspace… to jump to the Workspace Launcher window. With Eclipse, you may have multiple workspaces, so in this case designate one for Python. Now, you are at the Workbench with the welcome screen:
5. Adding Python to Eclipse
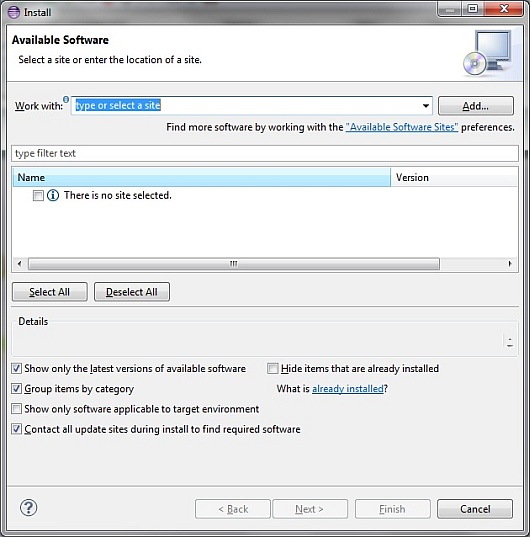
Now, Eclipse has no connection to Python, so you need to install PyDev (Python Development Environment) plug-in from within Eclipse. In the main menu go to Help → Install New Software. The following window should appear:
Let’s add PyDev IDE. Type http://pydev.org/updates in the input bar (Work with) and, within seconds, two options appear. Select PyDev option only: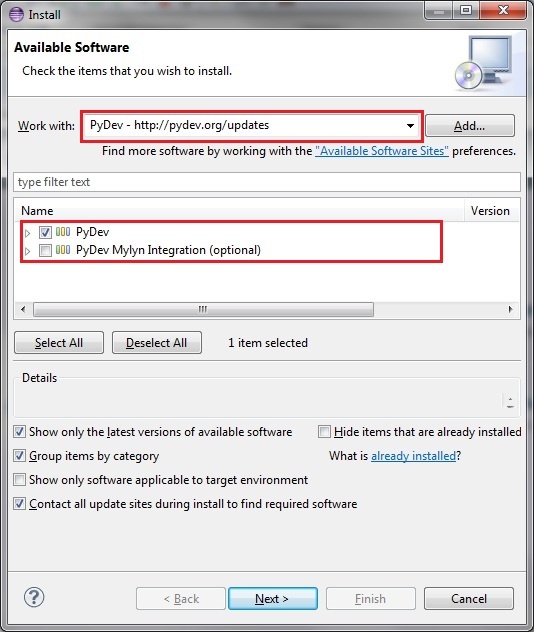
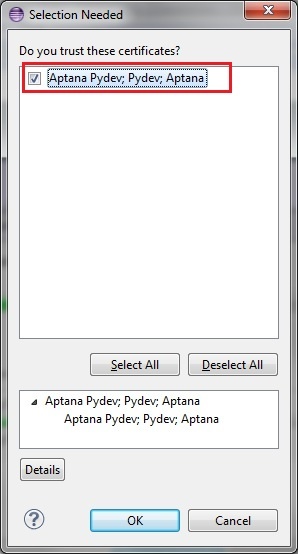
Proceed to complete the plug-in installation. Don’t forget to check the box with certificates:
6. Configuring PyDev
Since the Python interpreter has already been installed in step 1, we just need to plug it in to SDK.
Choose Window → Preferences, expand PyDev and select Interpreter–Python:
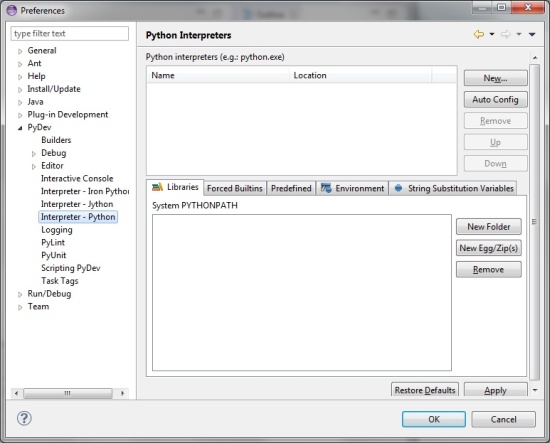
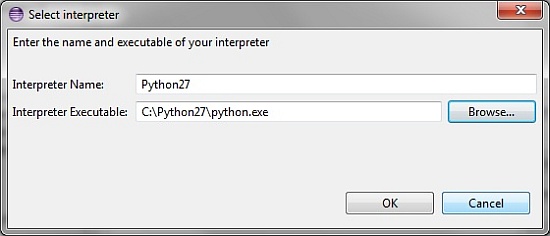
Then, select New and, in the pop-up window, enter interpreter name and define a path to it:
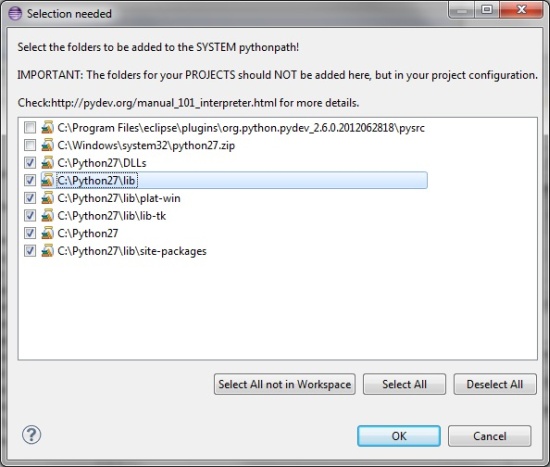
Then, add important folders to PYTHONPATH system variable. Select everything except “pysrc” and “python27.zip” (or “python32.zip” if exists):
Click on “OK” and it will configure them for you. Now, with the chosen workspace, PyDev IDE is using python.exe interpreter.
Welcome to Python! You’re ready to start a new project!